
Choose constant temperature and humidity for stable exposure, rapid temperature change for controlled ramps in one workspace, and thermal shock for abrupt transfer between conditioned zones.
ENVIRONMENTAL TESTING, BETTER ENGINEERED
The system behind
better chambers.
Six capabilities connect engineering, verification and lifetime support—so customers can judge SCI by evidence, not by a specification table alone.
MEASURED ─ INSPECTED ─ VERIFIED
THE SCI VALUE SYSTEM
06
connected reasons
to choose with confidence
ONE CHAMBER · ONE COMPLETE SYSTEM
See the machine.
Understand the value around it.
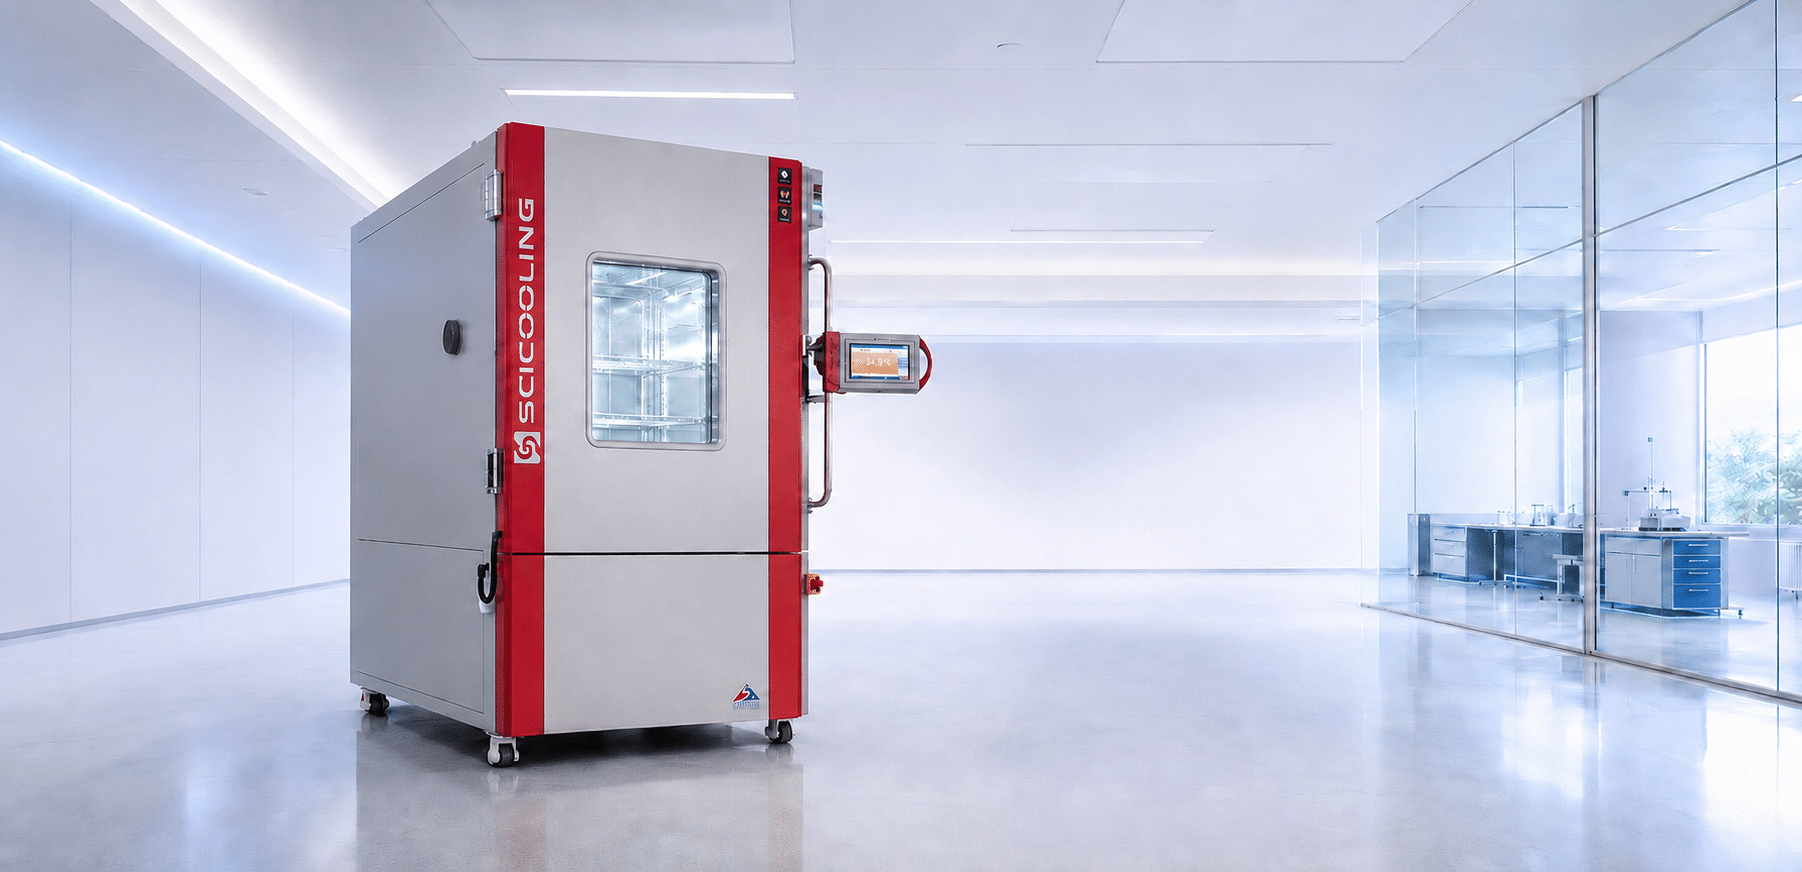
Every SCI chamber connects equipment engineering with the laboratory around it. Explore the proof built into the machine—and the planning tools that shape its lifetime value.
02 / SCI CAPABILITY
Quality assurance
Inspect materials, assembly and final verification
YOUR VALUEMore dependable. Built to last.
03 / SCI CAPABILITY
Verified performance
Review real profiles across five demanding test conditions
YOUR VALUEAccurate results. Faster testing.
01 / SCI CAPABILITY
Energy calculator
Estimate energy use and lifetime operating cost
YOUR VALUEMore efficient. Lower lifetime cost.
06 / SCI CAPABILITY
Flagship products
Match chamber families to your test demands
YOUR VALUERight chamber. Lower selection risk.
04 / SCI CAPABILITY
Remote service
Connect alarms, status and operating data
YOUR VALUELess downtime. Faster recovery.
05 / SCI CAPABILITY
Lab layout planner
19 equipment options · Plan + height views
YOUR VALUEBetter fit. No costly rework.
THREE FLAGSHIP SYSTEMS
Choose by test method.
Not by model number.
Start with how the specimen must be tested, then open the right product family to configure workspace, performance and options.
STABLE EXPOSURE
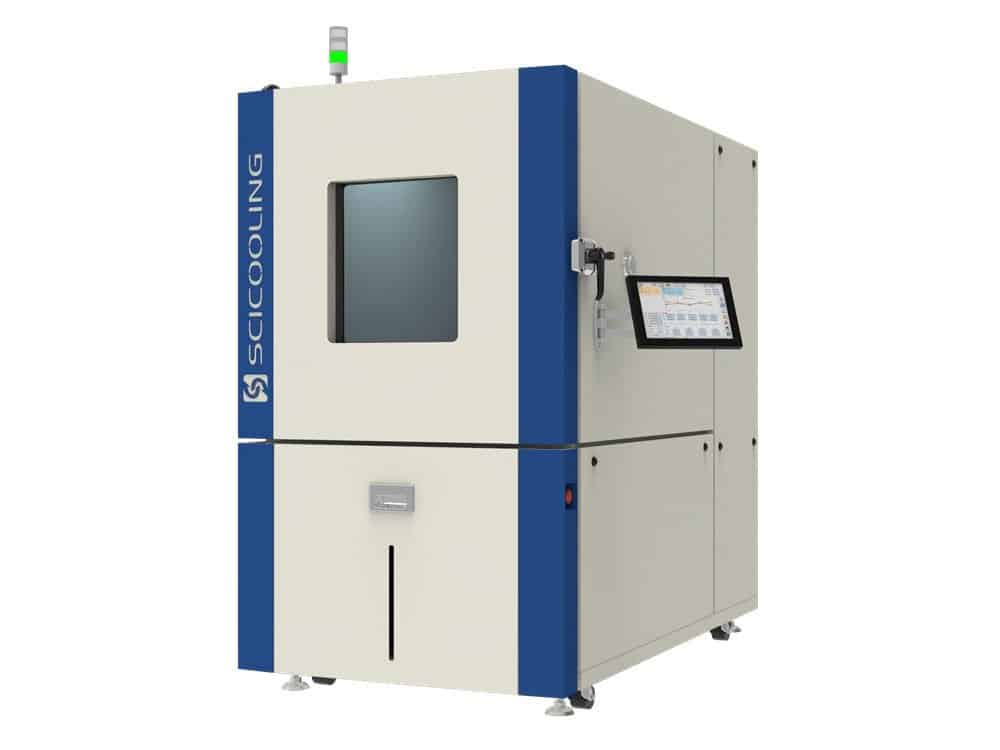
Constant Temperature & Humidity Chambers
Stable climate control for qualification, conditioning and long-duration exposure.
−60°C to +150°C
Temperature
20%–95% RH
Humidity
80–1,000 L
Workspace
CONTROLLED RAMP
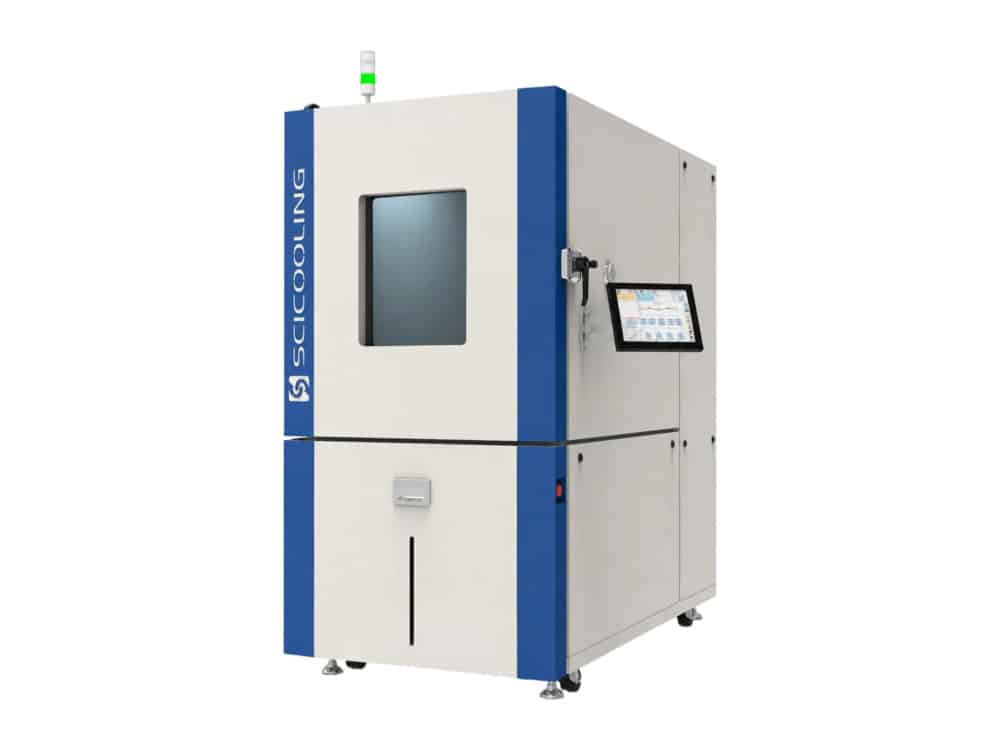
Rapid Temperature Change Chambers
Accelerate temperature cycling while the specimen stays in one controlled workspace.
−70°C to +150°C
Temperature
5–20°C/min
Ramp rate
150–1,000 L
Workspace
ABRUPT TRANSFER
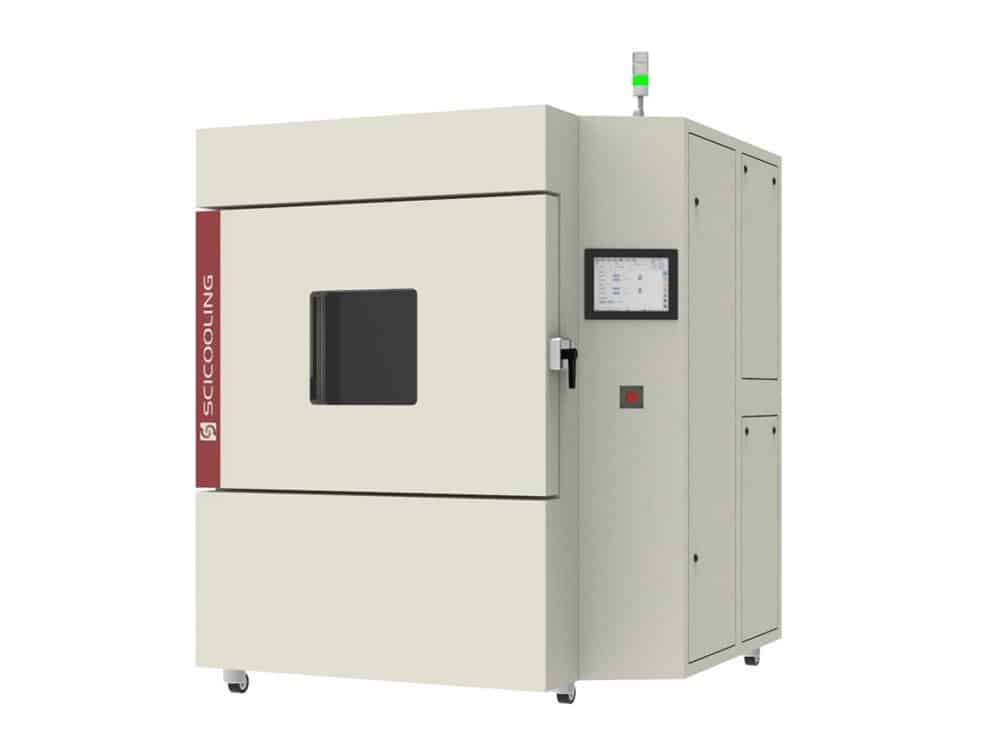
Thermal Shock Chambers
Reveal weaknesses through abrupt transfer between conditioned hot and cold zones.
Up to −100°C
Cold capability
≤ 15 s
Transfer
≤ 5 min
Recovery
INTERACTIVE SELECTION GUIDE
Three Different Ways to Apply Environmental Stress
Select a method to see how the specimen experiences the test.CONSTANT TEMPERATURE & HUMIDITY
Hold a Defined Environment
Maintain defined temperature and humidity conditions for hours, days or longer. Best for qualification, conditioning, storage simulation and accelerated aging.
Choose This Method →CONCEPTUAL PROFILE · NOT TEST EVIDENCE
RAPID TEMPERATURE CHANGE
Program a Controlled Ramp
Move through repeatable heating and cooling profiles while the specimen remains in one workspace. Best for controlled cycling, ramp testing and accelerated validation.
Choose This Method →CONCEPTUAL PROFILE · NOT TEST EVIDENCE
THERMAL SHOCK
Transfer Between Hot and Cold Zones
Expose the specimen to severe hot-to-cold transitions with minimal transfer time. Best for revealing failures caused by abrupt thermal stress.
Choose This Method →CONCEPTUAL PROFILE · NOT TEST EVIDENCE
TEST NEEDMETHOD REQUIREMENTRECOMMENDED SYSTEM
Stable temperature / humidity exposureHold a defined environmentConstant Temperature & Humidity
Controlled temperature ramp or cyclingProgrammed profile in one workspaceRapid Temperature Change
Abrupt hot-to-cold transferSevere transition between zonesThermal Shock
BUYER KNOWLEDGE BASE
From overall selection to
product-specific questions.
Start with the decisions that affect every chamber, then filter by test method, energy use or remote support.
Showing overall selection questions.7 questions
Start with the specimen envelope, fixtures and cables, then allow enough free airflow around every surface. External access, door swing and service clearance must be checked separately.
Specimen mass, material, packaging and active heat load absorb or release energy. Quote the real load so refrigeration capacity and airflow can be sized for the test—not only for an empty chamber.
Provide the temperature and humidity profile, ramp rate definition, specimen dimensions and mass, heat dissipation, required workspace, utilities, applicable standard and acceptance criteria.
State the measurement basis explicitly. Chamber-air control describes the environment; specimen temperature determines what the test item actually experiences and usually responds more slowly.
Verify the route from unloading point to final position, including doors, elevators, floor loading, ceiling height, ventilation, power, drainage and the chamber door safety zone.
Compare the same workspace, load, temperature interval, measurement method and stabilization criteria. A single headline number without these conditions is not a like-for-like comparison.
The flagship climate family covers configurations down to −60°C and up to +150°C, with humidity platforms commonly specified from 20% to 95% RH. Final capability depends on the selected model and condition.
Selected configurations can extend to demanding boundaries such as 7°C / 7% RH. Confirm the exact point, stabilization time and load during engineering review.
Relative humidity is limited by dew-point physics, refrigeration capacity and moisture handling. Use the humidity operating envelope rather than treating temperature and RH limits as independently combinable.
Fluctuation describes change over time at one point; uniformity describes spatial difference across multiple points. Both depend on sensor layout, airflow, chamber load and stabilization criteria.
Coordinate temperature and humidity transitions with the specimen dew point. Controlled ramps, dry-air preparation and suitable dwell logic reduce unwanted surface condensation.
State whether the rate is linear, average, or measured over a specified temperature interval; whether it is based on chamber air or specimen temperature; and whether the chamber is empty or loaded.
A common engineered platform provides approximately 3°C/min heating and 2°C/min cooling across this interval. The final result must be confirmed against workspace and specimen load.
A common engineered platform provides approximately 3°C/min heating and 2.5°C/min cooling across this interval, subject to the agreed payload and measurement method.
Compare both directions over the same interval and load. A chamber with faster cooling can shorten the full cycle even when the heating figure looks similar.
Yes, on suitable configurations and within the humidity operating envelope. Ramp rate and humidity control may interact, so both must be reviewed as one test profile.
The refrigeration system must remove both chamber heat and the specimen's thermal or electrical load. Supply mass, material, starting temperature and active wattage for an accurate capacity check.
Two-zone systems transfer between hot and cold environments. Three-zone systems add an ambient zone when the standard or specimen sequence requires it.
Transfer time is how quickly the basket moves between zones. Recovery time is how long the test environment takes to return to the specified condition after transfer.
No. It identifies the available cold platform, not a universal recovery claim. Basket load, hot-zone setpoint, dwell time and recovery requirement must be reviewed together.
Basket dimensions, specimen mass and airflow blockage directly affect transfer, recovery and uniform exposure. They are essential engineering inputs, not accessory details.
It is a conservative planning basis for the lifecycle calculator, not a guarantee for every profile. Actual savings depend on chamber size, condition, load, operating hours and the comparison baseline.
Baseline kWh per chamber-hour, number of chambers, operating hours, annual operating days and local tariff structure have the largest direct impact.
Time-of-use tariffs value the same energy differently during the day. A blended rate produces a more realistic operating-cost estimate than one flat price.
No. kWh/h is the average energy used in one operating hour; total kWh multiplies that rate by operating time. Keep the measurement period clear when comparing chambers.
Use a defined test profile, comparable chamber volume and load, and metered energy over the same period. The calculator is for planning; project validation should use measured data.
Depending on configuration, service teams can review alarms, temperatures, status, program steps and selected operating signals through the available controller interfaces.
Remote-monitoring configurations can provide RS232 and TCP/IP connectivity. Confirm the protocol, network environment and required data points before ordering.
Not necessarily. Access can be designed around the customer's IT policy, from local data export to controlled remote sessions when support is needed.
The customer defines network permission and session availability. Access should use the approved site policy, named users and only the data required for diagnosis.
Provide the machine serial number, alarm record, active program step, setpoint and actual values, recent changes, photos or video, and an exported trend or event log when available.
No matching questions
Try a broader keyword or choose All questions.
SCI / TESTING EXCELLENCE
Better performance is only valuable
when it lasts.
Begin with the proof that matters most to your project.